Header and Cookie Authentication
Create Headers (Portal)
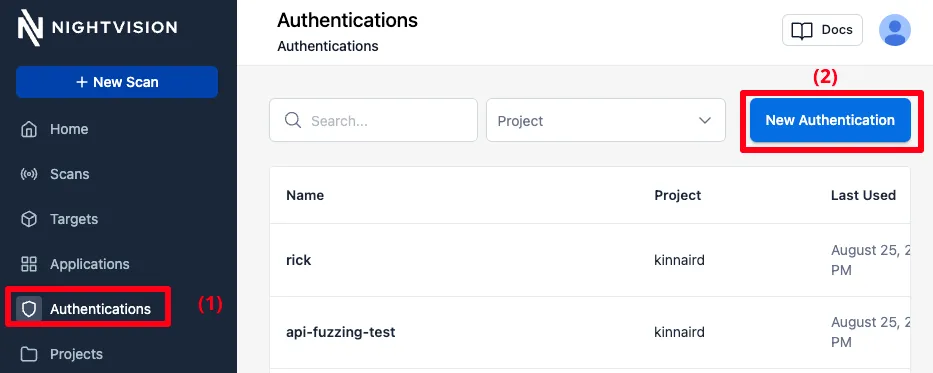
Section titled “Create Headers (Portal)”- Navigate to NightVision.
- Select Authentications from the left sidebar and then New Authentication on the top right.
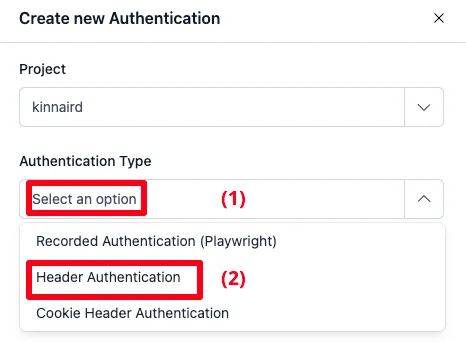
- Under Authentication Type, select Header Authentication from the drop-down.
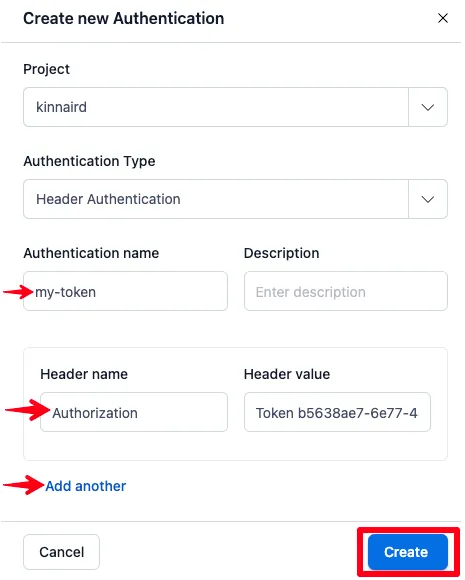
- Enter a name for your Header Authentication resource under Authentication name, then add a Header name and Header value. You can create a Header Authentication resource with multiple headers by selecting Add another. Then click Create.
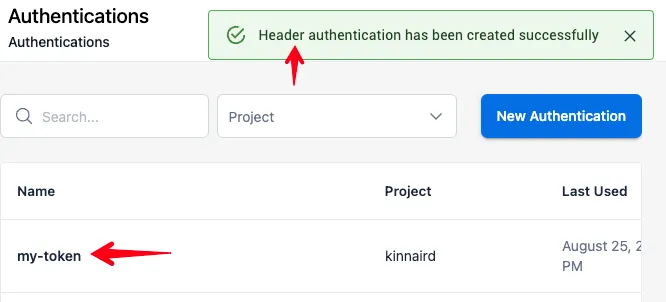
- In the list of Authentication resources, you’ll notice that the token was created.
Create Headers (CLI)
Section titled “Create Headers (CLI)”Use nightvision auth headers create to create header credentials.
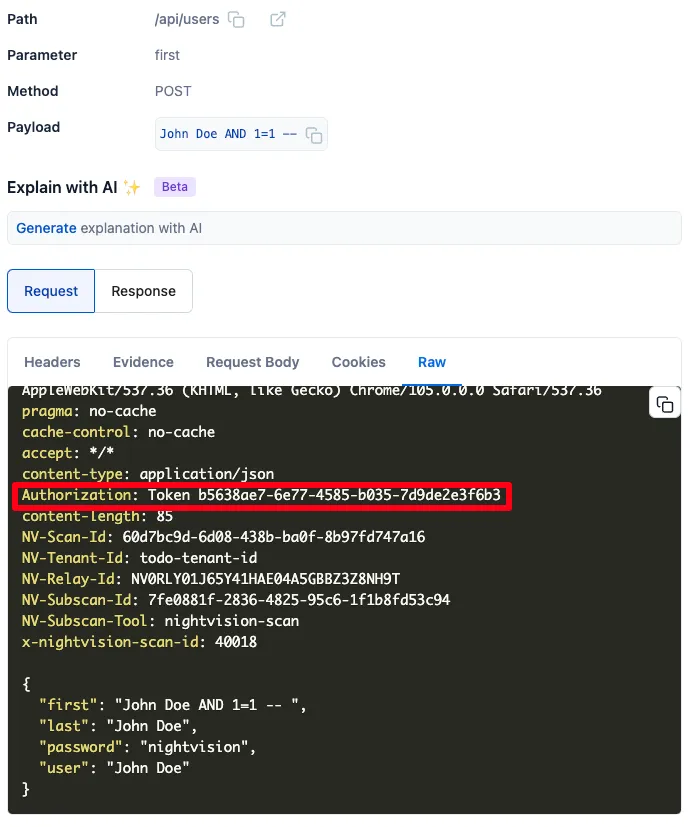
nightvision auth headers create api-fuzzing-test \ -H "Authorization: Token b5638ae7-6e77-4585-b035-7d9de2e3f6b3" \ --description "GitLab api-fuzzing-test"Try running a scan against an application using those headers. You’ll notice how all requests use the headers specified in the header credential resource:
Multiple Headers
Section titled “Multiple Headers”You can attach multiple headers to a single header resource:
nightvision auth headers create rick \ -H "Authorization: Token b5638ae7-6e77-4585-b035-7d9de2e3f6b3" \ -H "X-Data: https://www.youtube.com/watch?v=dQw4w9WgXcQ"Updating Headers
Section titled “Updating Headers”You can update them using nightvision auth headers update:
nightvision auth headers update rick \ -H "Never: GonnaGiveYouUp" \ -H "Never: GonnaLetYouDown"